How We Make Powder Coated and Colorized Coin Rings
|
|
Part 1 - Hand Crafting The Colorized Coin Rings
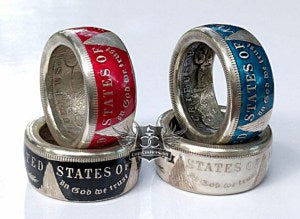
Our colorized coin rings are really special, so I thought I'd show you how I make them.
They are available for sale here:
And here: https://coincrafters.net/collections/rings/products/colorized-coin-rings
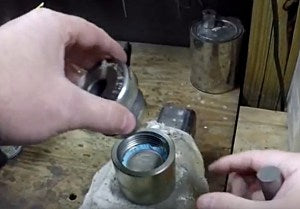
Punching the Hole
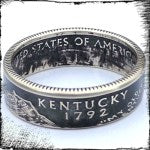
Using a 3/4" punch, I center the coin I plan to use for the colorized coin ring and then either use a hammer or my 6-ton press to cut the hole in the coin. In these photos I'm using a Morgan Silver Dollar for the colorized coin ring. I use a punch available from http://Jasonworks.etsy.com.
Shaping The Ring
Right now the ring just looks like a flat circle of metal with a hole in the center of it. Here's where the magic happens. I'm going to start shaping it using a series of dies and my press. The initial pressing uses a cone shape to begin stretching the metal and I'm going to do it before I anneal the coin.

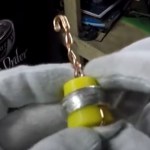
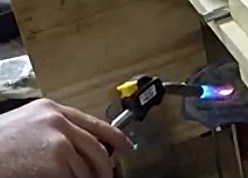
Annealing
Annealing is a process that softens the metal and makes it more pliable. Its done by heating the coin to a dull red glow and then quenching it quickly in water. This allows me to work the metal without it cracking.
Continuing to Shape the Coin Ring
I'm going to continue to shape the coin into a ring by alternating pressing with annealing. Its really important to shape it gradually. Since the coin has a pattern I want to retain on the outside, I use a soft padding between the die and the coin. The ring size is also dependent on this process. Because the ring is sized before it is colorized, resizing the ring after it has been made can damage the finish.
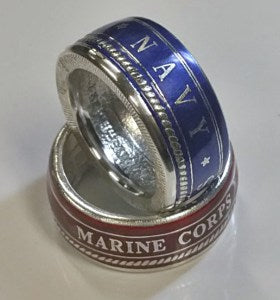
Finishing the Coin Ring
Once the ring has been shaped and sized, I carve out some of the silver from inside the ring to make it more wearable. Finally, its time to sand and clean the ring so it is soft, smooth and comfortable.
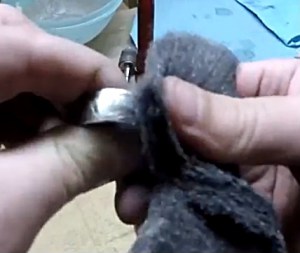
I don't want to damage any of the design on the outside, however, so I just use a fine steel wool on the outside and then I carefully clean the whole ring using steam and acetone.
Now, the ring is ready for the powder coat process that gives it color. We'll cover that in our next blog post! Want to see this in more detail? I have a two part video available for you to view on YouTube.
Part 1 (covered in this post) is here:
https://www.youtube.com/watch?v=bTjt71qYMcQ
Part 2 (covered in the next post) is here:
https://www.youtube.com/watch?v=OPmsidE0D7g
You can also subscribe to my YouTube Channel here: